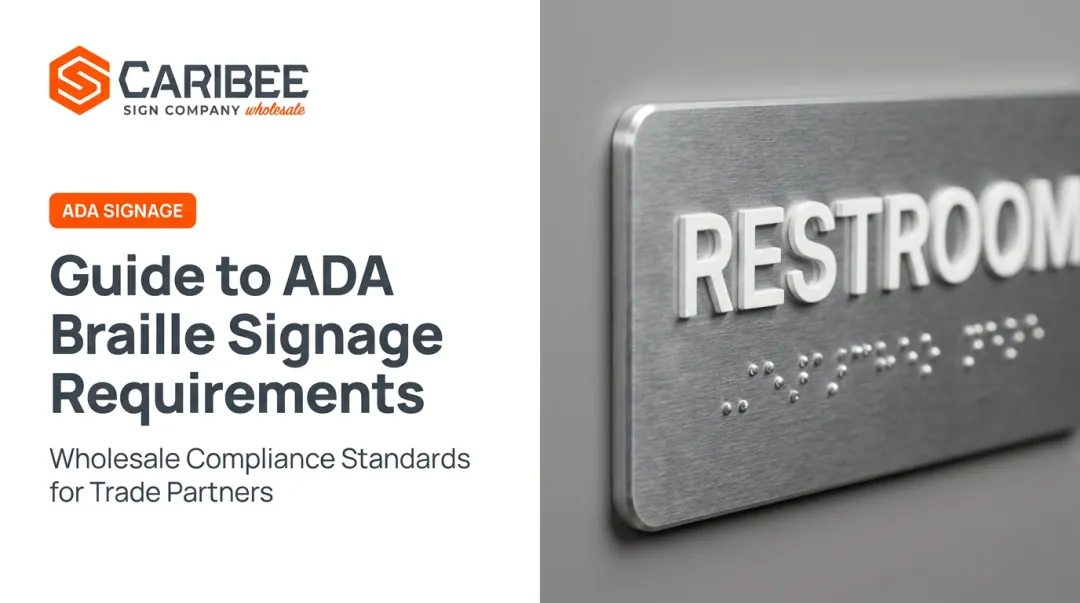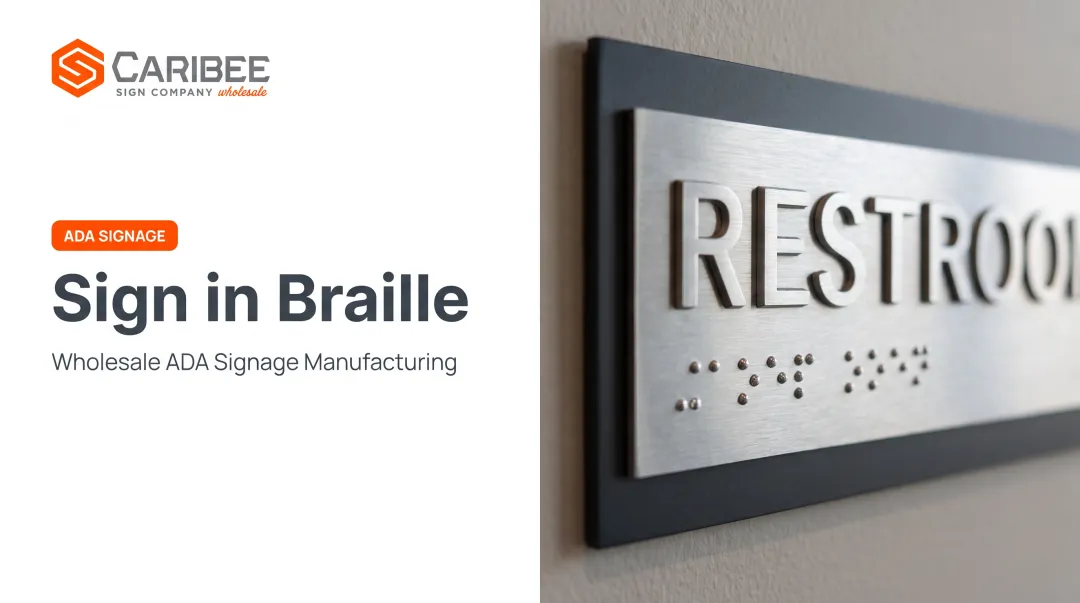

It looks simple on paper: drill a hole, insert a bead, done. In practice, results depend heavily on machine precision, bead selection, spacing accuracy, and installation care. This article breaks down what raster braille actually is, how it's made, the parameters that make or break compliance, and when it's the right call versus other methods.
TL;DR
- Raster method braille uses precision-drilled holes with press-fit beads to create ADA-compliant tactile dots
- Best suited for sign companies producing mid-to-high volume ADA signage with consistent quality needs
- Success hinges on drill precision, bead material, and strict adherence to ADA dot specifications
- Common failures: wrong spacing, poor bead adhesion, skipped compliance checks
- Partnering with an experienced fabricator like Caribee Sign removes the guesswork
How to Create Raster Method Braille Signs
Step 1: Prepare the Sign Panel and Layout
Before any drilling happens, the groundwork has to be right.
- Confirm the substrate (acrylic, metal, or wood) is compatible with drilling
- Map braille cell placement per ADA layout rules — left-aligned, horizontal orientation
- Verify text-to-braille translation accuracy before marking a single hole position
Skipping this step is where most compliance headaches start. A translation error caught after drilling means scrapping the panel.
Step 2: Drill Precision Holes Using a Raster Machine
Use a dedicated raster drilling machine for this step. Commercial systems like Gravotech's Raster setup combine a braille translator with a single-point drill that cuts holes at exact depth and diameter. This isn't a hand-drill job.
- Check drill bit calibration against required dot dimensions before each run
- Confirm machine settings match ADA specs, not just "close enough"
- Verify consistent hole spacing across every braille cell in the sign
Inconsistent calibration is invisible until you run your finger over the finished dots, or until an inspector does.
Step 3: Insert and Tension-Fit the Raster Beads
Beads typically come in plastic, metal, or glass, chosen based on durability needs and the sign's overall aesthetic. Press-fit each bead into its drilled hole so it sits securely and raised.
- Inspect for uniform bead height across the entire cell
- Check for a rounded, dome-shaped finish (flat or lopsided beads fail tactile tests)
- Confirm no beads are loose or sitting below the panel surface
Step 4: Inspect, Test, and Finalize for ADA Compliance
This is the step people rush through. Don't.
- Measure dot height, diameter, and spacing against ADA specifications
- Run a hand-test for tactile readability — machines can't fully substitute for a human finger
- Confirm color contrast and finish satisfy both compliance and branding requirements

ADA Dot Specifications You Can't Round Off
The 2010 ADA Standards set exact tolerances, not general guidelines:
| Measurement | Requirement |
|---|---|
| Dot shape | Domed or rounded |
| Dot height | 0.025"–0.037" (0.6–0.9 mm) |
| Base diameter | 0.059"–0.063" (1.5–1.6 mm) |
| Dot spacing within a cell | 0.090"–0.100" (2.3–2.5 mm) |
| Spacing between adjacent cells | 0.241"–0.300" (6.1–7.6 mm) |
| Spacing between cells vertically | 0.395"–0.400" (10–10.2 mm) |
These numbers govern the finished sign, not the tool used to make it. Outside these ranges, the sign fails inspection.
Sign text must also appear in contracted Grade 2 braille — the Access Board confirms UEB qualifies as Grade 2 for ADA purposes.
When Should You Use the Raster Method for Braille Signage?
Raster is a strong fit for many ADA braille jobs, but not every one.
Best suited for:
- High-traffic institutional environments — hospitals, government buildings, corporate campuses
- Projects where long-term wear resistance matters more than speed
- Mid-to-high volume runs where consistency across dozens or hundreds of signs is critical
Less efficient for:
- Very low-volume orders where drilling setup time outweighs the benefit
- Rapid-turnaround jobs where printing or thermoforming can move faster
- Substrates that may crack, delaminate, or chip when drilled
Before committing to raster, weigh material compatibility and how long the sign needs to last. A lobby directory in a 20-year office building has different needs than a temporary event sign.
What You Need Before Creating Raster Method Braille Signs
Preparation and the right production partner determine whether a raster order ships clean the first time.
Equipment and Material Requirements
You need a dedicated raster drilling machine with calibrated bits, plus bead stock in the material your project calls for. Without calibrated equipment, dot consistency across a multi-sign order becomes a guessing game.

Compliance and Layout Readiness
Have these three items ready before production:
- ADA dot specification chart covering height, diameter, and spacing
- Verified braille translation, checked before layout is finalized
- Production-ready artwork with a clearly marked braille placeholder (not finished braille art)
Many sign companies lack in-house raster capability and outsource this step. Caribee Sign serves sign company partners as a wholesale fulfillment resource for ADA-compliant braille production. Partners submit artwork with a braille placeholder, and Grade 2 Contracted Braille translation happens in-house before production begins.
Key Parameters That Affect Raster Braille Sign Quality
Four variables control whether a raster braille sign passes inspection or gets sent back.
Dot height and diameter determine whether a visually impaired reader can distinguish characters by touch. Non-compliant dimensions fail ADA inspection outright, no matter how good the sign looks otherwise.
Hole spacing and cell alignment must stay consistent so readers recognize characters accurately. Misaligned cells create reading errors — a reader might confuse one letter for another entirely.
Bead material affects durability, tactile feel, and resistance to wear over years of daily use. The wrong choice leads to premature bead loss, fading, or a feel that doesn't match ADA's rounded-dome requirement.
Drill precision and machine calibration control hole depth consistency across an entire production run. Uneven holes leave beads sitting loose or protruding unevenly, which undermines both compliance and durability.

Common Mistakes When Producing Raster Braille Signs
- Skipping dot spec verification before drilling starts, the most expensive mistake to catch late
- Using incompatible bead materials for the substrate, leading to poor adhesion
- Allowing inconsistent spacing between cells and lines within the same sign
- Failing to quality-check bead adhesion before shipping or installation
Each of these is preventable with structured pre-drill and post-production checks. Dedicated fabrication partners build that discipline into every run.
Alternatives to the Raster Method for ADA Braille Signage
Raster isn't the only path to compliant braille. Depending on budget, timeline, and design needs, other methods may fit better.
| Method | Best For | Trade-Offs |
|---|---|---|
| Thermoforming | Unique molded graphics, multi-layer visuals | More time-intensive setup; less ideal for small orders |
| UV/DCS Printing | Fast turnaround, wide color customization | Generally less tactile durability than raised bead systems |
| Photopolymer | Detailed graphics paired with braille on premium signage | Higher cost, longer production (sometimes two weeks or more) |
DCS reports a standard 6x8 sign can print in under 2 minutes with UV systems.
None of these methods is named or mandated by the ADA itself. The Standards govern the finished tactile result, not the manufacturing process used to get there.
Conclusion
Raster method braille delivers durable, precise, ADA-compliant results — but only when equipment, parameters, and prep work are properly controlled. Most fabrication failures don't come from the method itself. They come from skipped compliance checks or mismatched bead-to-substrate combinations.
For sign companies without in-house raster capability, partnering with a dependable fabricator matters more than the process name on the invoice.
Caribee Sign has supported wholesale partners with ADA-compliant braille production for years. The team handles translation, fabrication, and quality control so sign companies can deliver compliant signage without building that capability in-house.
Frequently Asked Questions
What is the braille method?
Braille is a raised-dot tactile reading system created by Louis Braille. In signage, it represents letters and numbers so visually impaired readers can identify rooms, exits, and wayfinding information by touch.
How does the braille system help visually impaired people?
It allows visually impaired individuals to read wayfinding and identification signs independently, without needing assistance to locate a room, exit, or facility.
Is raster braille the same as press-in braille?
"Raster" specifically refers to a licensed, drilled-hole and tension-fit bead process. It's a specific type of press-in braille, not a generic term covering every bead-insertion method.
How long do raster braille beads last?
Quality raster beads, especially UV-stable acrylic or metal options, are built to resist wear, fading, and vandalism for years. Actual lifespan depends on material choice and installation environment.
What materials work best for raster braille signs?
Acrylic, metal, and glass beads all work, typically paired with substrates like acrylic, aluminum, or wood. Material choice should match the sign's exposure conditions and expected wear.
Do all ADA signs require braille?
Most permanent room identification and wayfinding signs require braille under ADA guidelines. Purely directional or informational signs generally don't need to be tactile, though visual requirements still apply.